Are you considering taking your business online? An established distributor who now is moving into the eCommerce realm called me. She was concerned that QuickBooks Desktop would not be able to meet the needs of her WordPress website based eCommerce business. She is representing 11 manufacturers and never takes possession of the inventory. Customer orders will be for products from multiple companies. She wanted to know how she will process orders without purchasing an expensive program.
Here are some of her concerns:
When an order comes in, can QuickBooks generate a sales order that can be converted into multiple purchase orders?
Yes.
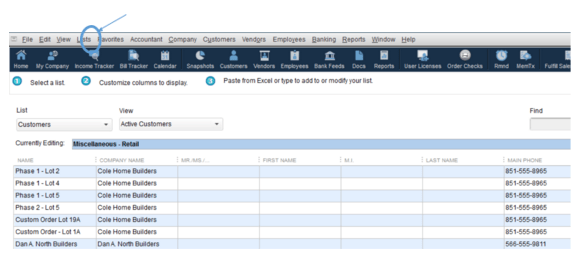
- Add your customer information for a day using the Add Multiple under the List Tab. You can cut and paste.
- List the preferred vendor for items to make the work flow seamless.
Enter the sale price correctly.
Items are Non-Inventory Parts.
Check the box that says I buy and sell this part.
Items can also be updated quickly using the Add Multiple under the List Tab.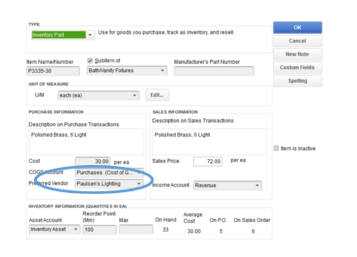
- Create the Sales Order.
Customer and Item are already listed in QB.
Save then Create a Purchase Order.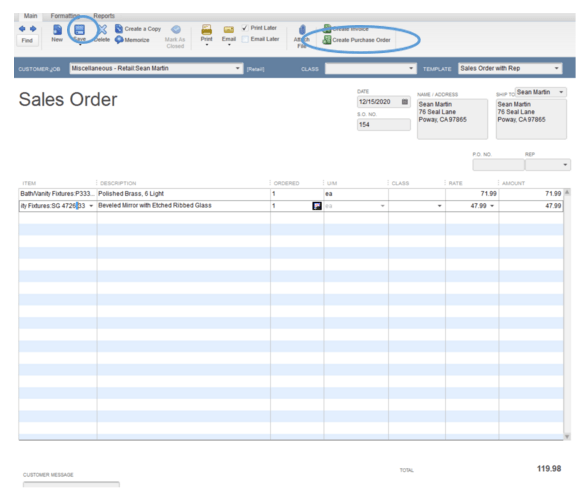
- Check Create purchase order for selected items.
Drop ship to customer. Click OK.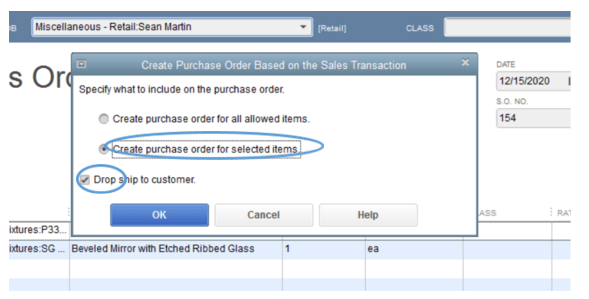
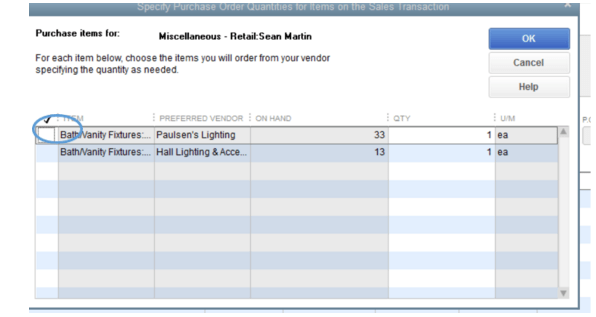
- Choose the first item being purchased. Click OK.
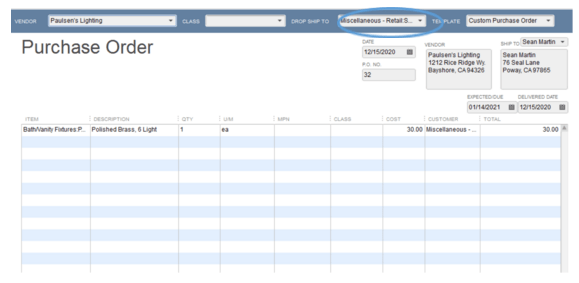
- Here is your purchase order. Notice the Drop Ship Information.
My question to her was how and when will you be getting paid? In her case, the website will generate a payment through a merchant service. How does that money flow into her account?
- You start with an Invoice. A pop up will ask you if the invoice is based on a Sales Order. Check the correct Sales Order.
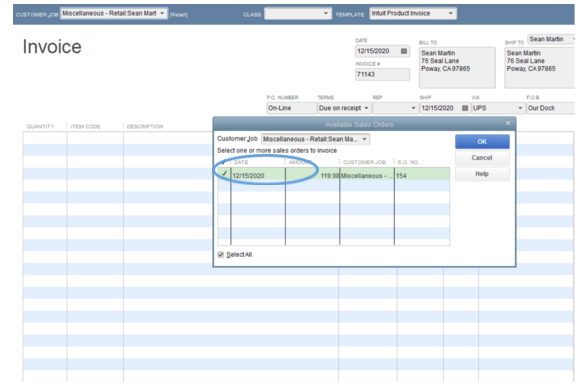
- Another pop up asks if the client is paying for one or more item. This is a great feature for when you are collecting funds as goods are shipped. Check the correct box for your situation.
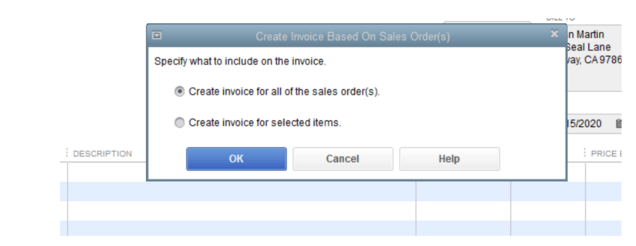
- Your invoice is automatically generated. Save. Receive payment.
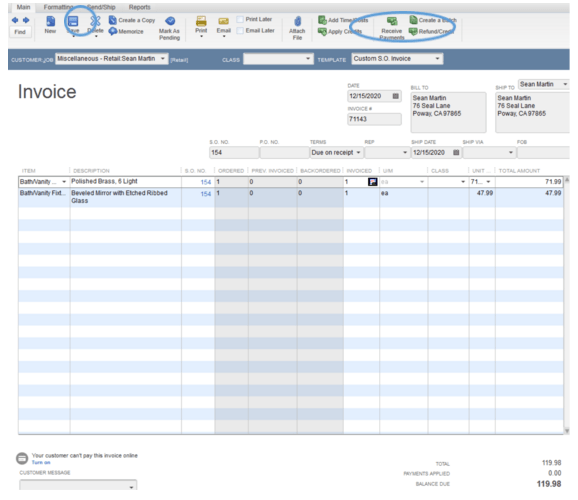
- Include the reference number for the Merchant Charge. Save.
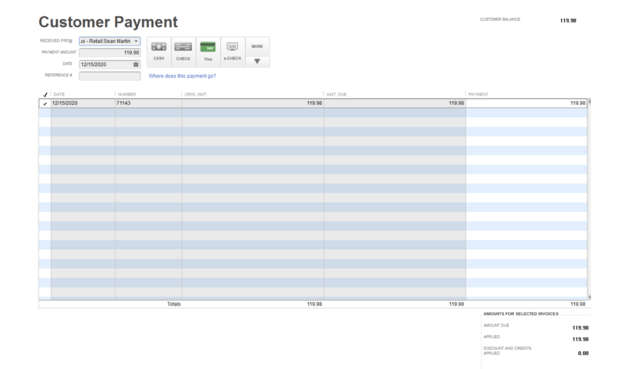
- Now get the funds into your checking account.
Go to your Merchant Services report.
Find the amount deposited that day and the clients that make up the payment.
In QuickBooks, go to Banking – Make Deposit.
Click all the clients to make the amount agree with the Merchant Service Report (take fees at the next window).
Click OK.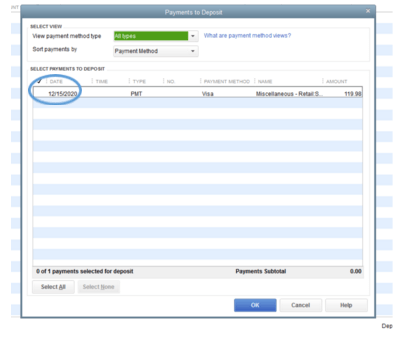
- Choose the correct bank account the money is flowing into.
Add the merchant fee if there is one as a negative number.
Verify the amount of the deposit agrees to the amount that hits your bank account.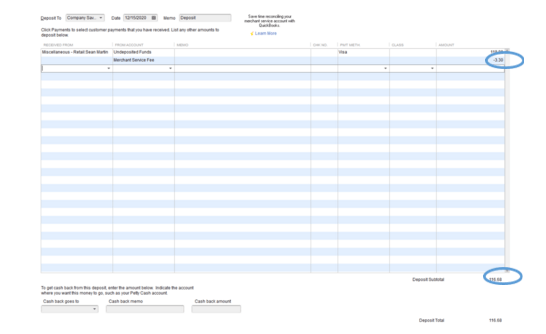
Don’t hesitate to call if you have any questions about this process.


